Welcome and thank you for choosing ReturnGO!
Here’s how to easily set up your account to start processing your returns.
To complete setting up your ReturnGO account, here are the steps to follow:
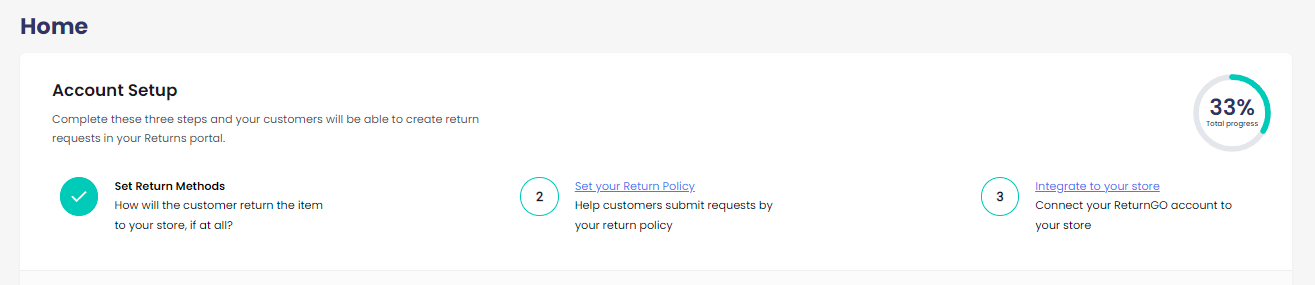
When you have completed all the steps for setup, you’ll have a working account and a return portal integrated into your store that’s ready to be shared with your customers.
We will explain each step in detail in the following sections.
Step 1: Set Return Methods
The first step for setting up your store is to set your store’s return methods.
A Return Method defines whether a customer will be required to return the items to your physical store or not. If they are required to return the items, the return method will define how they will be returned.
A Return Method is included in each policy rule defined in your return policy.
When a return method is defined as eligible, the policy rule that includes it will be made available to your customers.
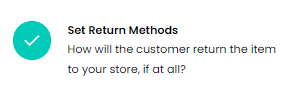
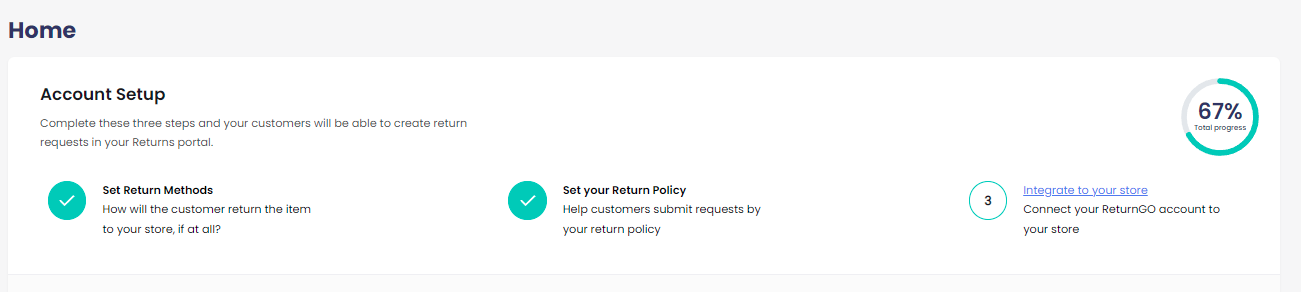
As you can see, this step has a checkmark and your total progress is automatically at 33%.
- This step will be automatically completed because there are 4 default return methods that come already defined. You can go over and review these return methods, adjust them and/or add others as needed.
View your return methods by clicking SETTINGS on the left menu and then clicking on RETURN METHODS.
Types of supported Return Methods:
| No Shipment Required | Customers are not required to ship/return the item. |
| Return to Store Location | Customers are required to return the items, which they can do by returning them to a physical location; your store, or a drop-off location. |
| Ship With Any Carrier | Customers are required to ship the items back. The customers will pay for the shipment and can choose their preferred carrier. |
| Ship With Pre-Paid Label | Customers are required to ship the items back using a pre-paid label that you provide by integrating your shipping provider into your ReturnGO account. |
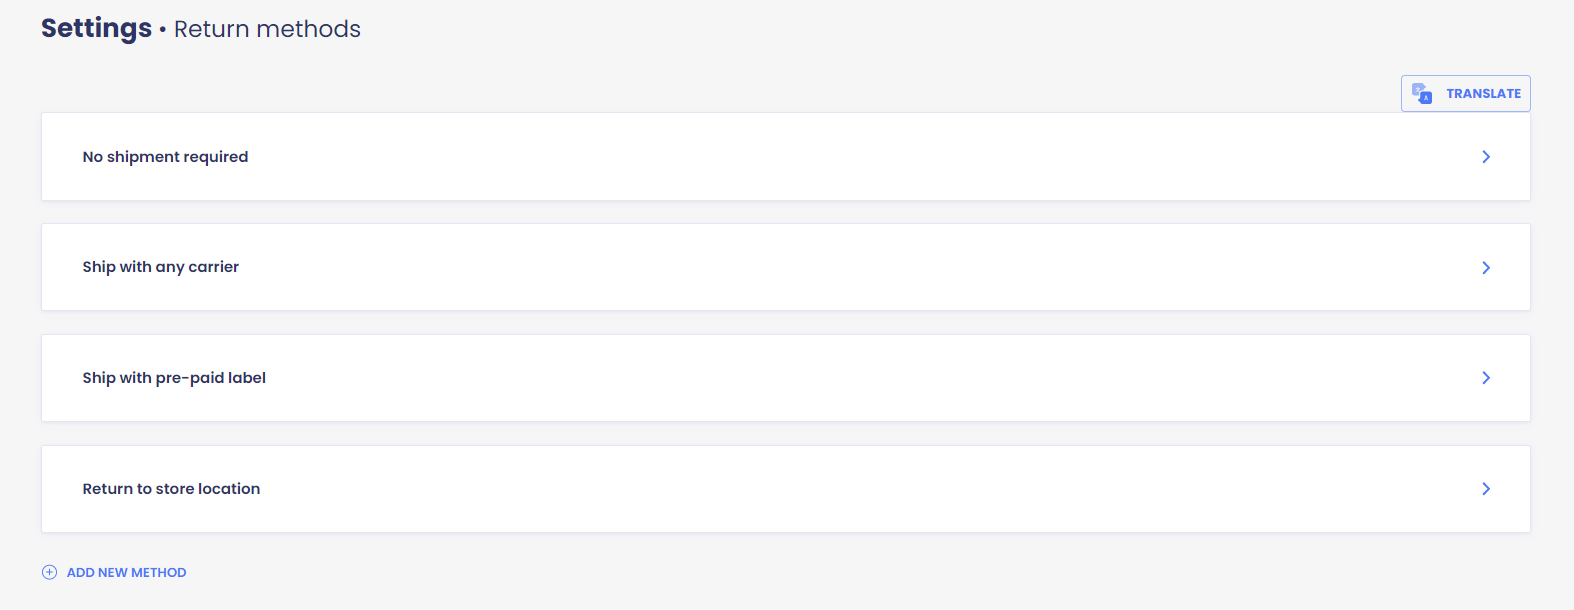
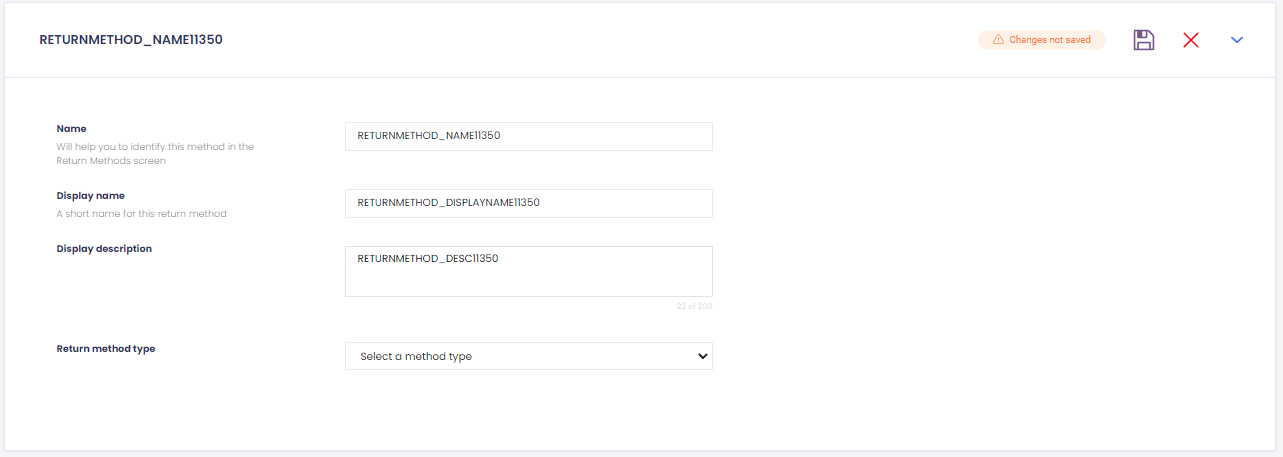
Editing a Return Method
To edit a return method, expand it by clicking the “>” icon and then the EDIT button. Afterward, do not forget to save your changes.
Once you've set what return methods you'll offer your customers, you can move on to Step 2.
Step 2: Set your Return Policy

After defining your store’s return methods, the next step is to set up your return policy.
Your Return Policy is a set of rules that details your business process and requirements for accepting returns and exchanges.
A return policy also covers what customers should expect from the returns process, and how they should go about initiating a return.
When creating a return request (RMA), the return portal guides customers based on these policy rules. When customers are requesting a return, the policy rules that are eligible for each item will be offered for the customers to choose from.
Creating Policy Rules
View your return methods by clicking SETTINGS on the left menu and then clicking RETURN POLICY.
To create a return policy rule:
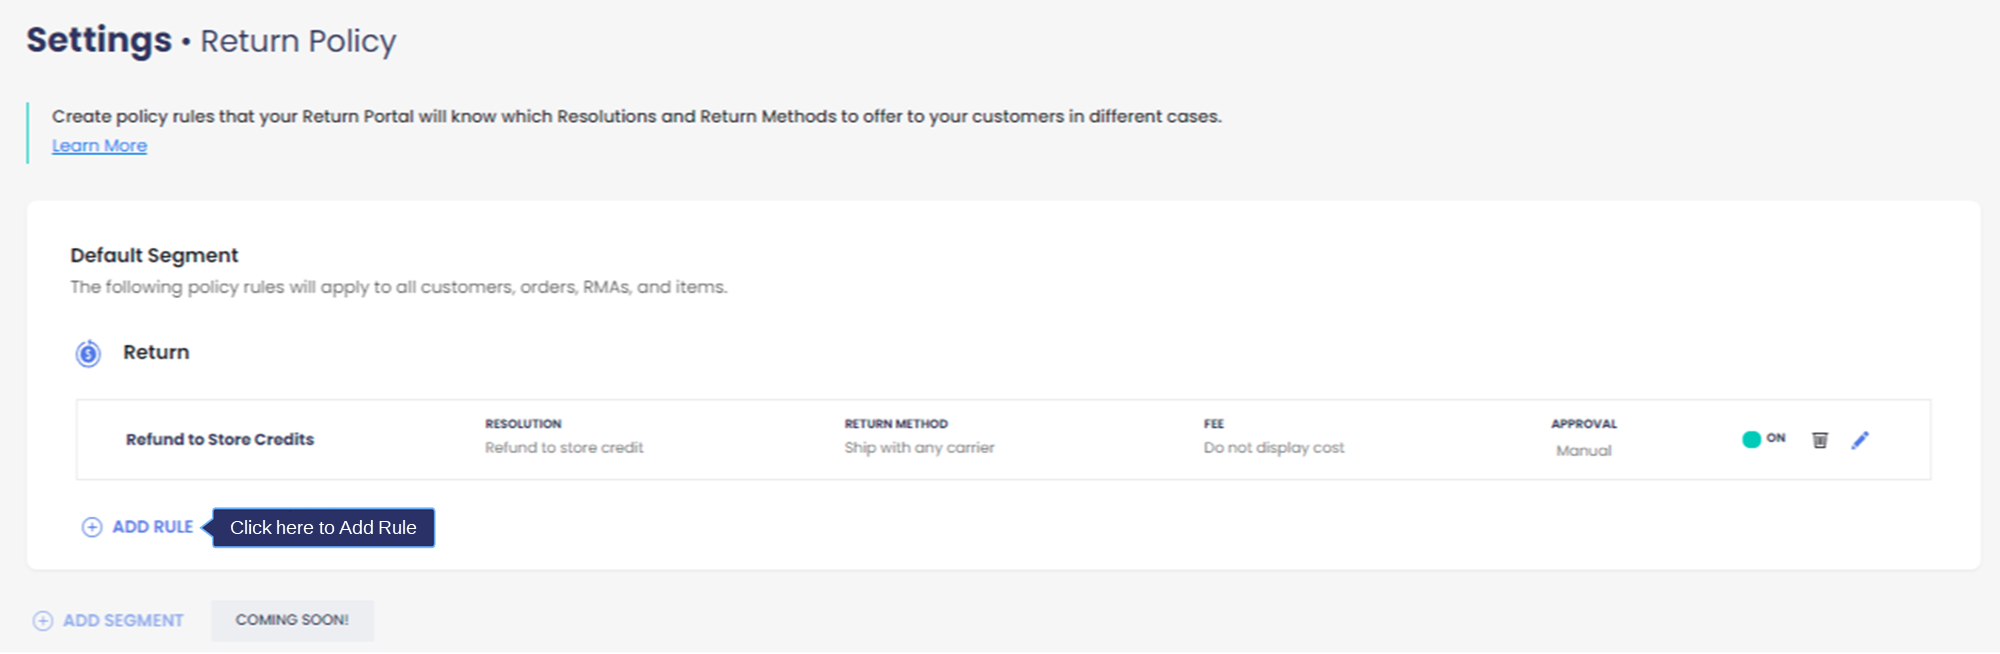
1. Go to Settings > Return Policy.
2. Click ADD RULE.
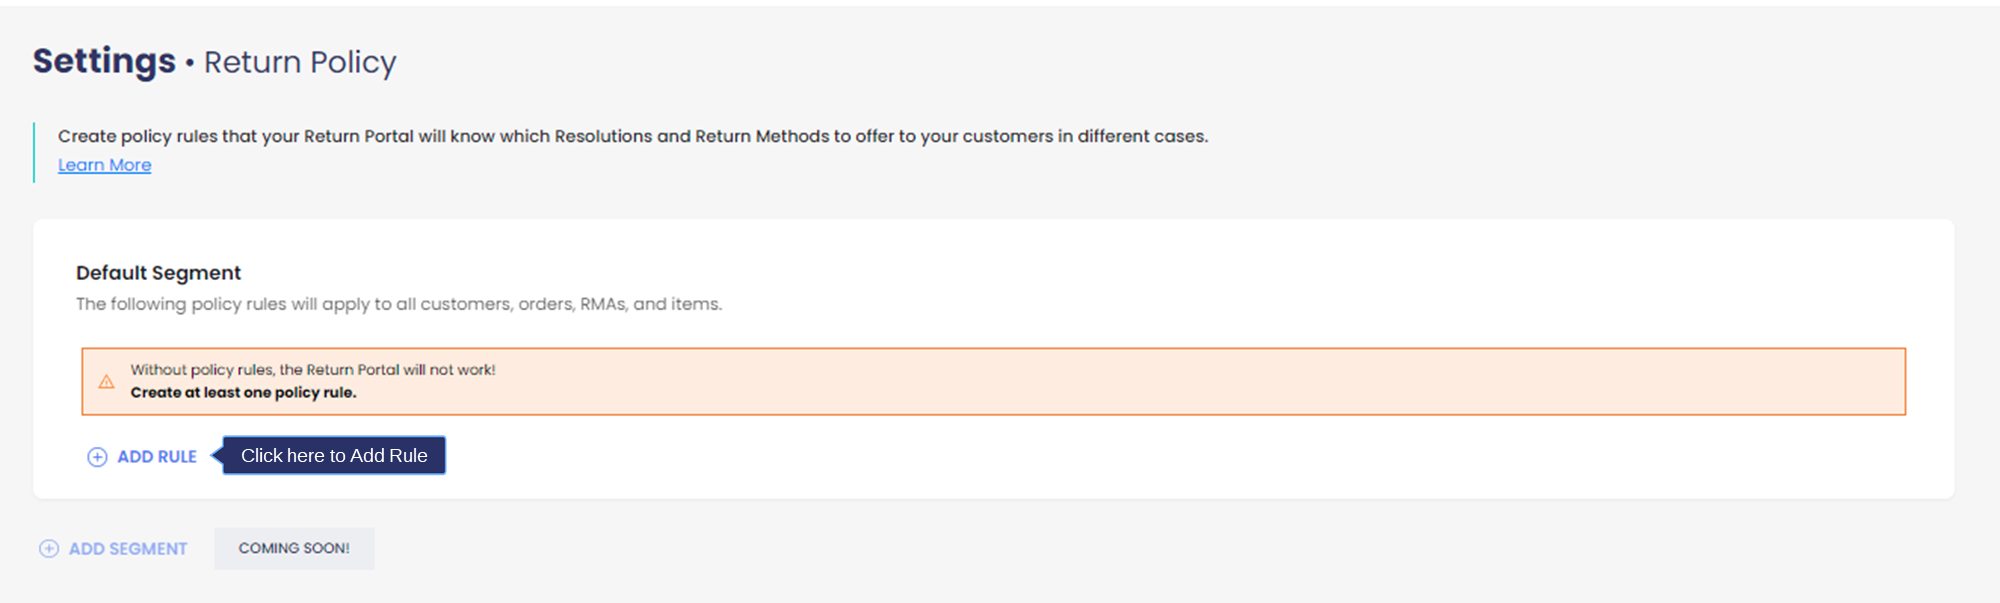
3. A pop-up box called Policy Editor will appear.
4. In the Policy Editor, you can configure the settings for the policy rule.
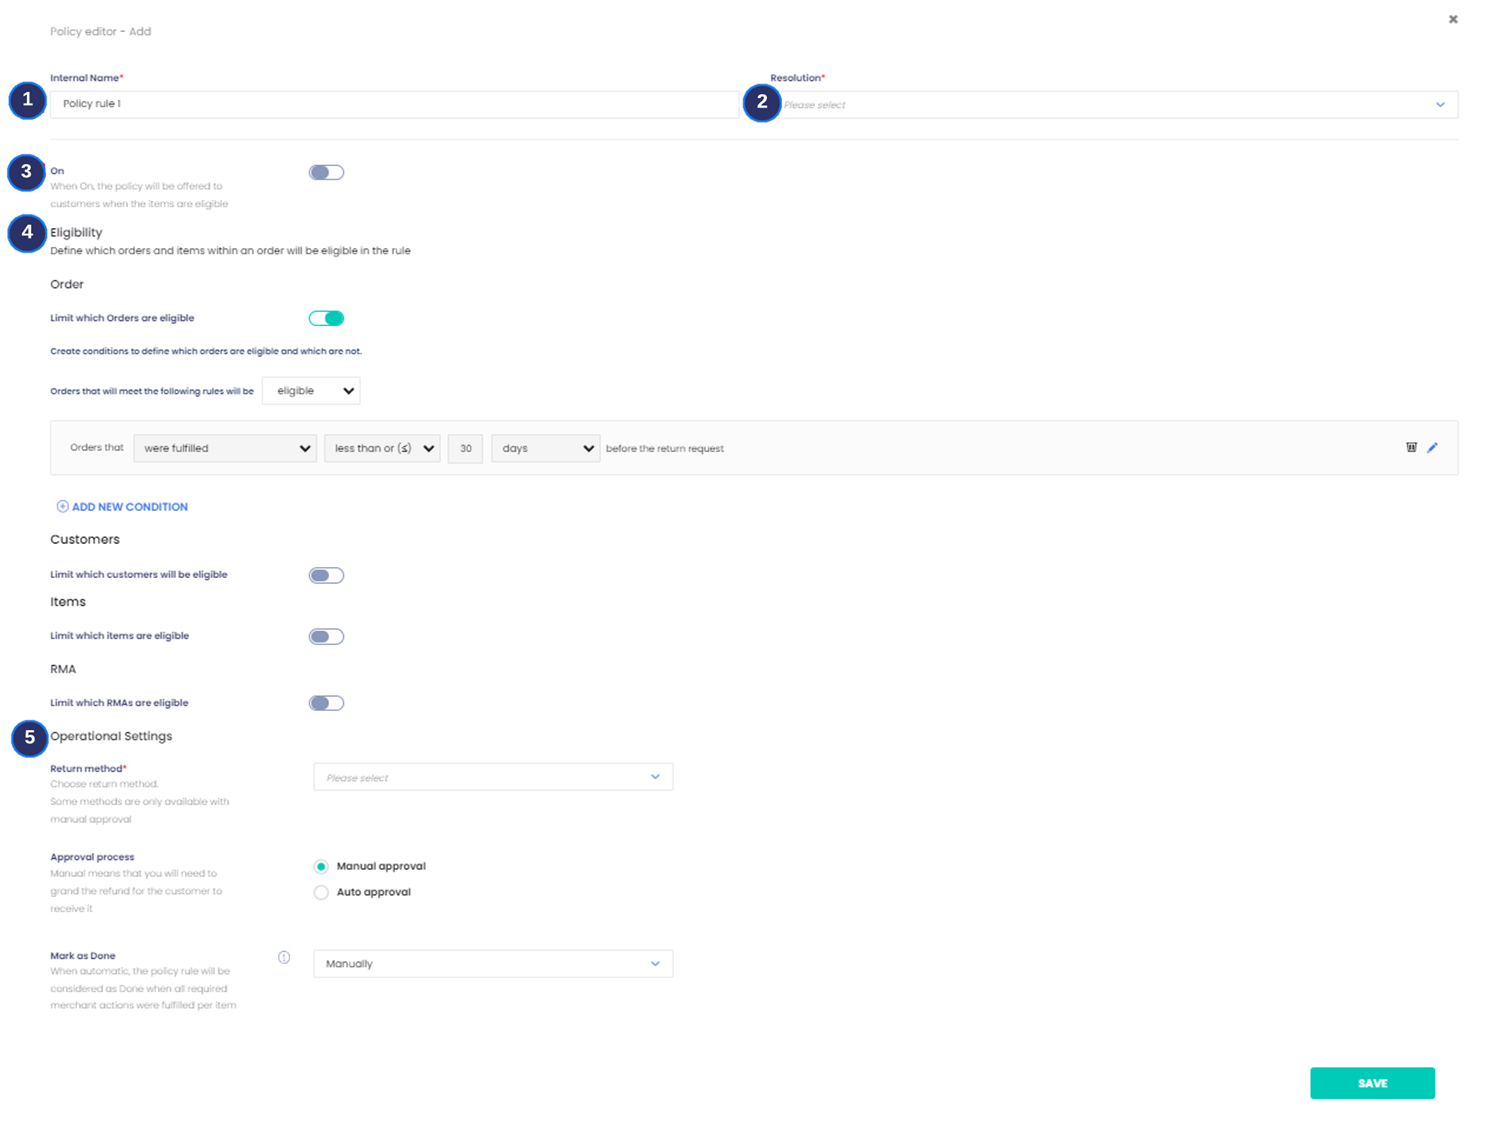
Settings you need to configure for your policy rule:
Internal Name
- Name the policy rule so you can identify it later between different Policy Rules that use the same resolution and return method in the Return Policy screen.
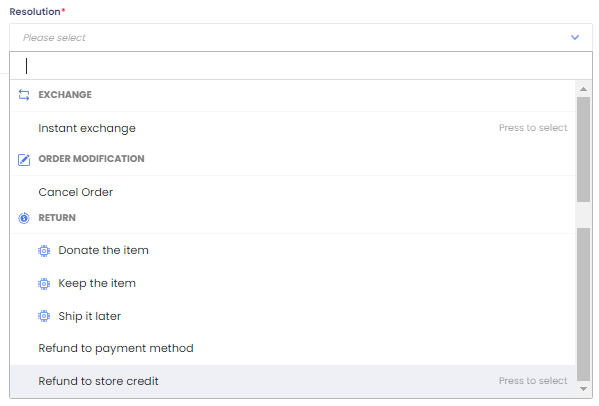
Resolution
- Define how you will handle the request. Each customer action request (exchange, return, etc) can have multiple resolutions, but each policy rule uses only one of them.
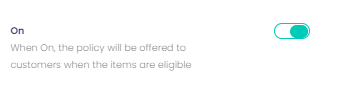
On
- When turned on, this policy rule will be offered to the customer when the items meet the eligibility conditions defined in the policy rule. If you want to prevent customers from being offered this rule, you can switch it to ‘Off’ and you can always allow it later on.
Eligibility
- Define under which conditions customers will be eligible for this policy rule. When a property is deemed ineligible, the policy rule will not be offered to the customer.
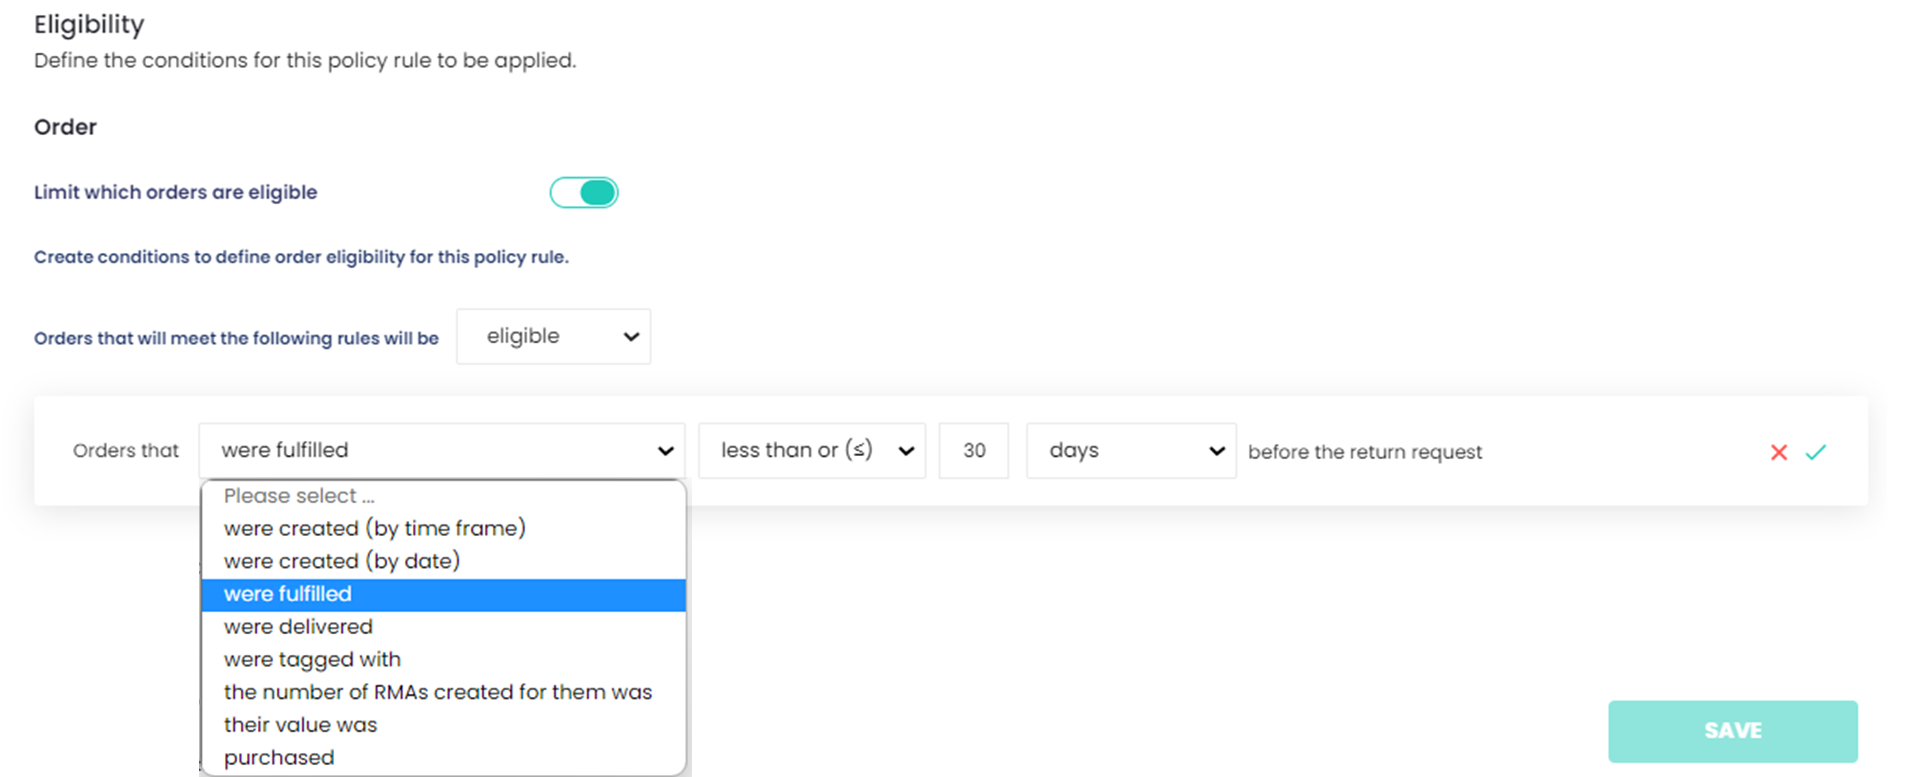
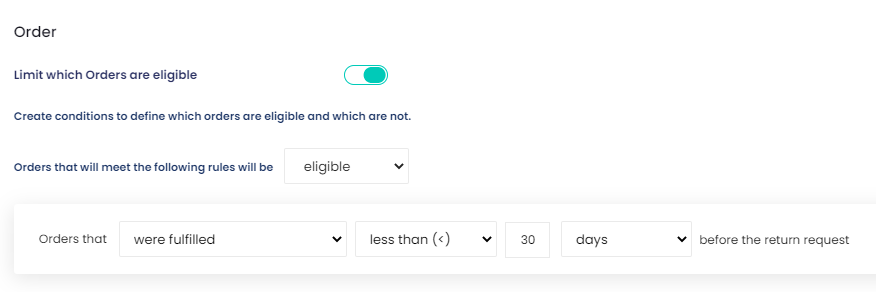
- Orders - Create conditions to define which orders are eligible for this policy rule. If the order isn’t eligible for any policy rules, the customer will not be able to generate a return request.
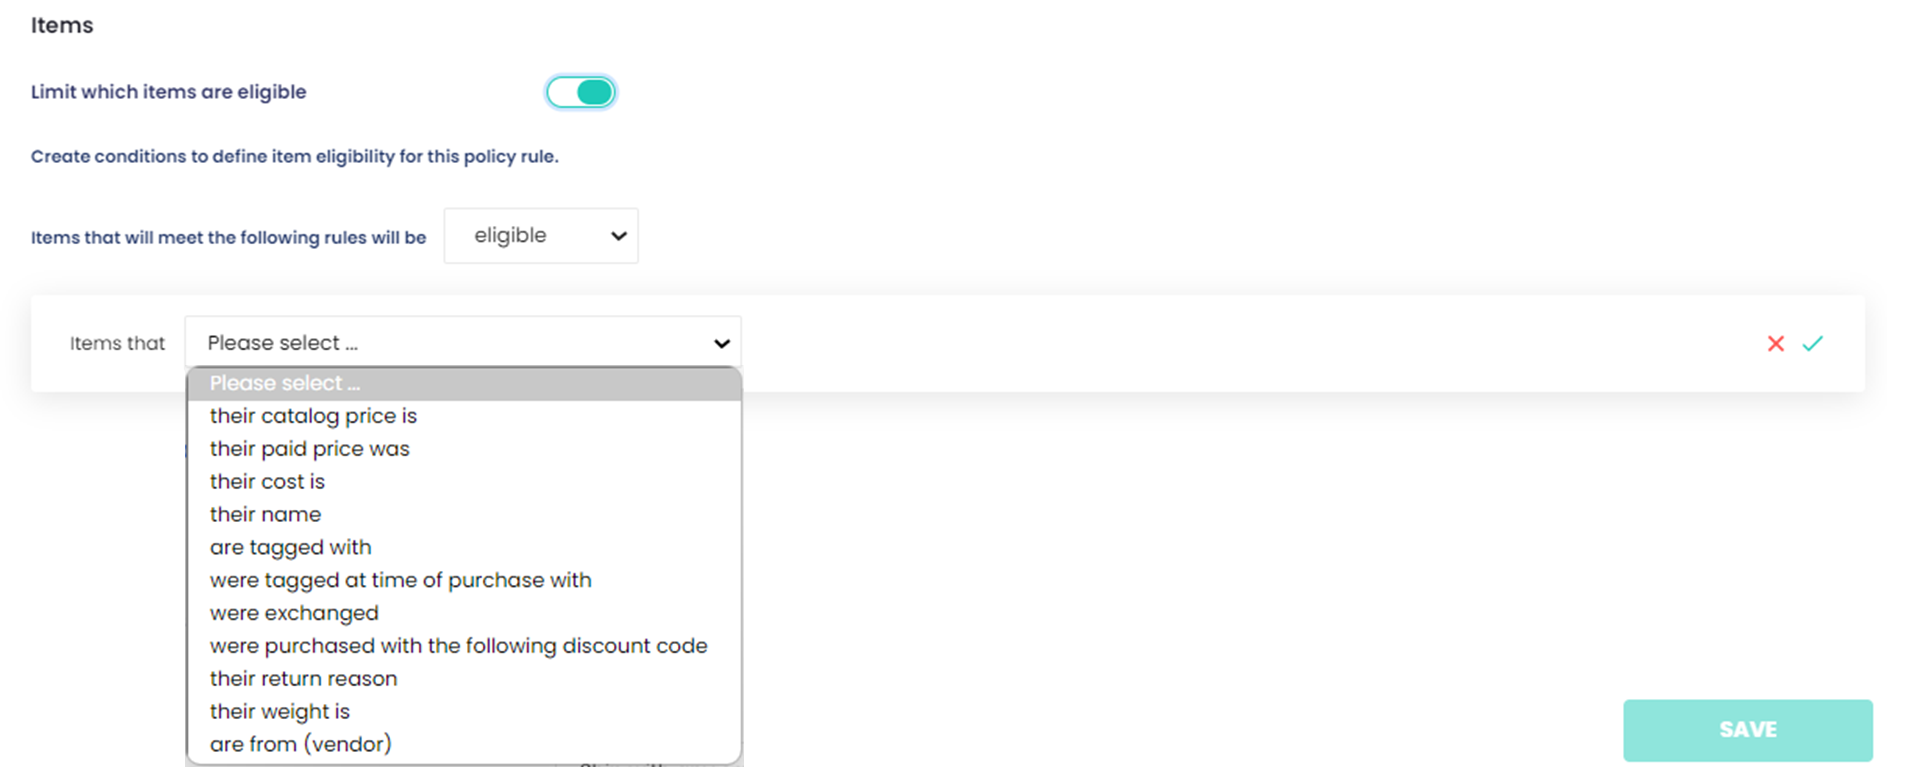
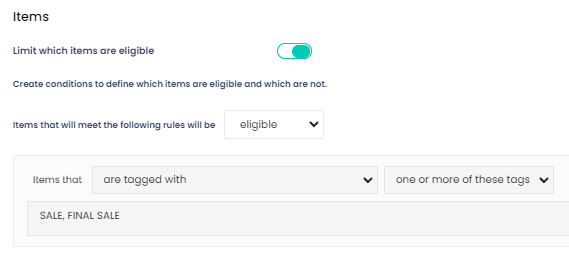
- Items - Create conditions to define which items are eligible for this policy rule. The conditions can be based on paid price, cost, name, tags, and more.
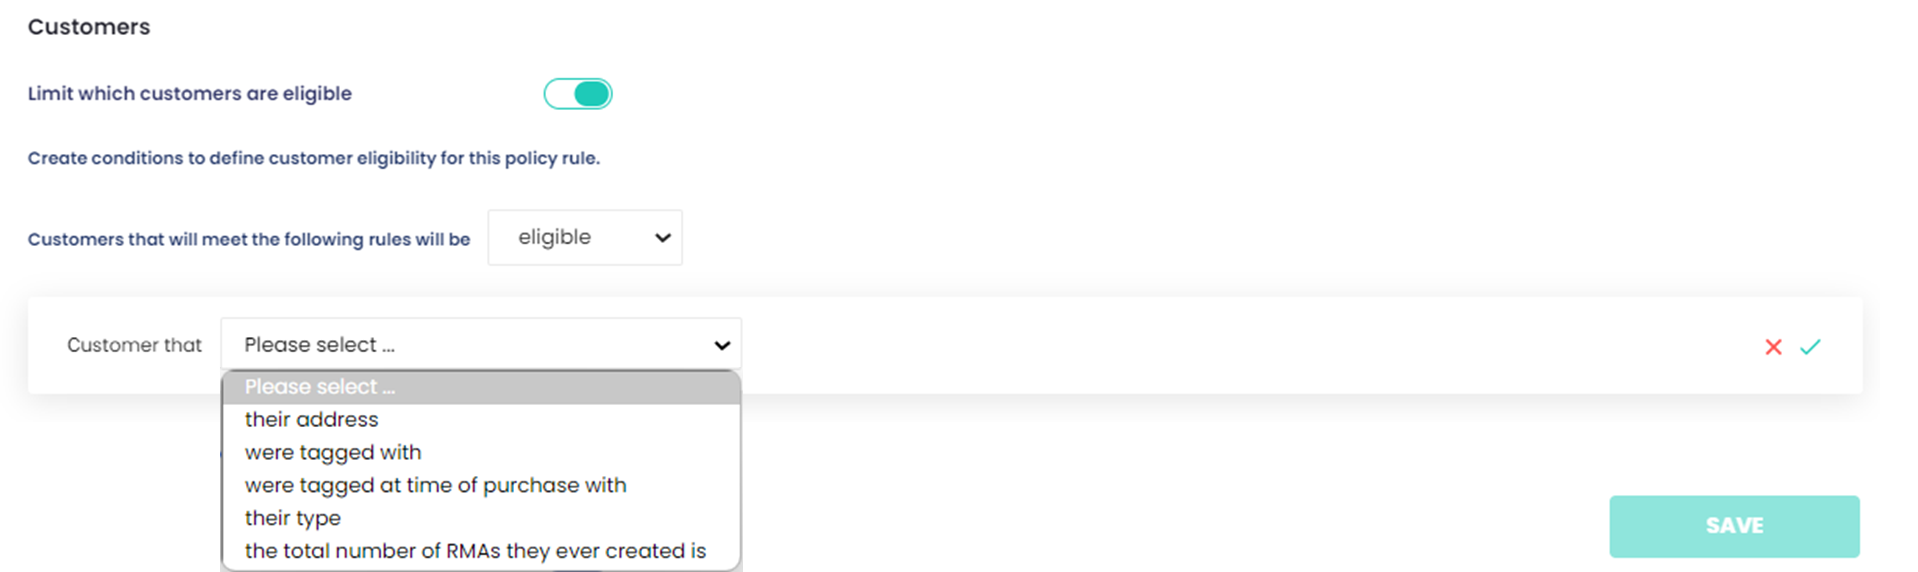
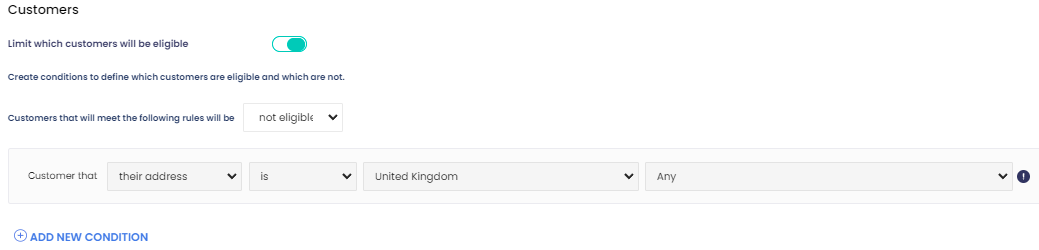
- Customers - Create conditions to define which customers will be eligible for this policy rule. The conditions can be based on the customer's location, tag, type, and the number of RMAs the customer has created.
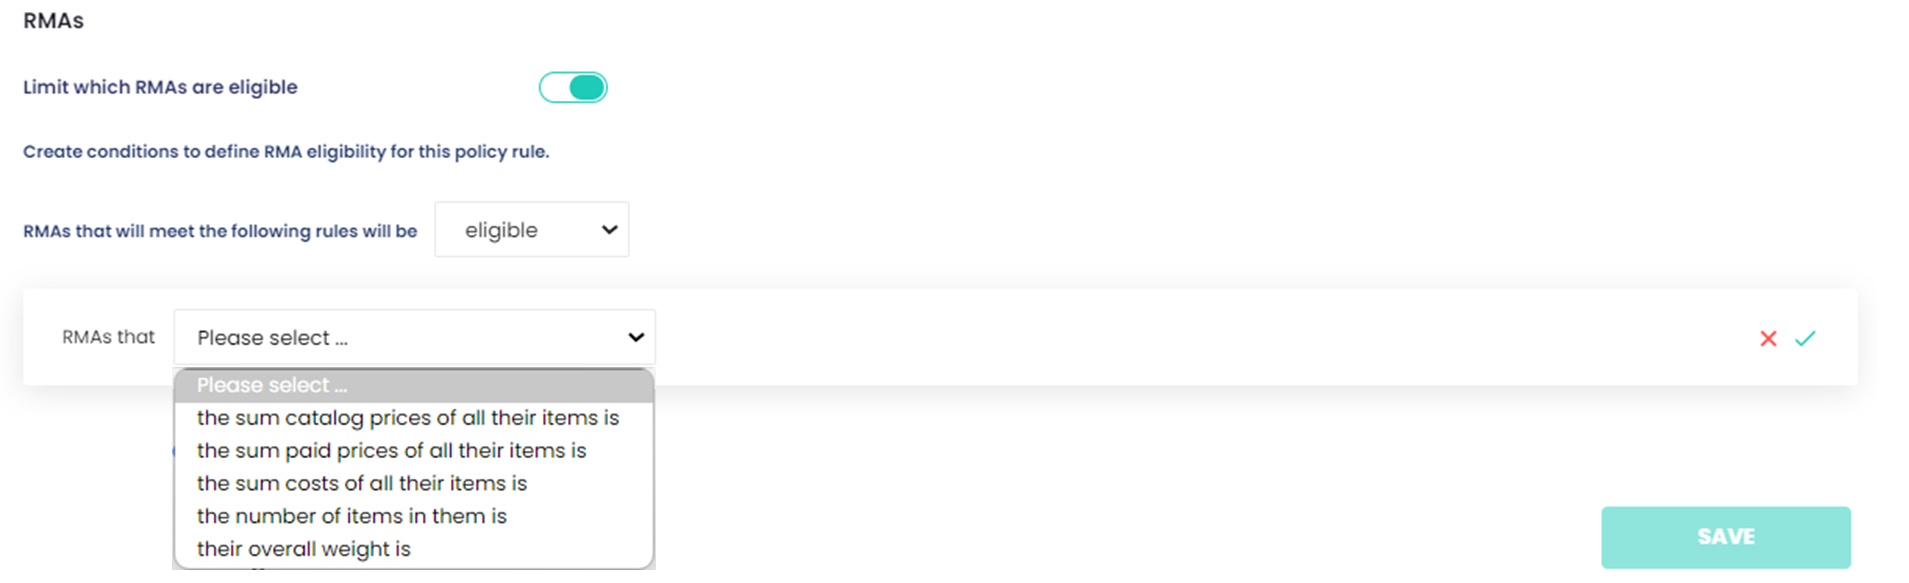
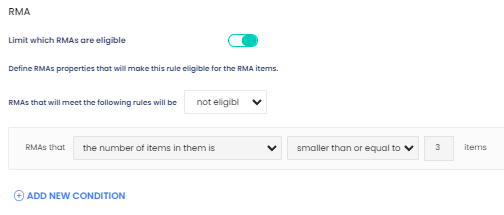
- RMAs - Create conditions to define which Return Requests (RMAs) will be eligible for this policy based on the items the customer includes in the return request. The conditions can be based on the overall paid price, the number of items included, and more.
- Orders - Create conditions to define which orders are eligible for this policy rule. If the order isn’t eligible for any policy rules, the customer will not be able to generate a return request.
Operational Settings
- Configure return methods, fees, and approval process involved in your operations.
- Return Method - Choose one of the Return Methods you defined in the previous step to be used in this Policy Rule.

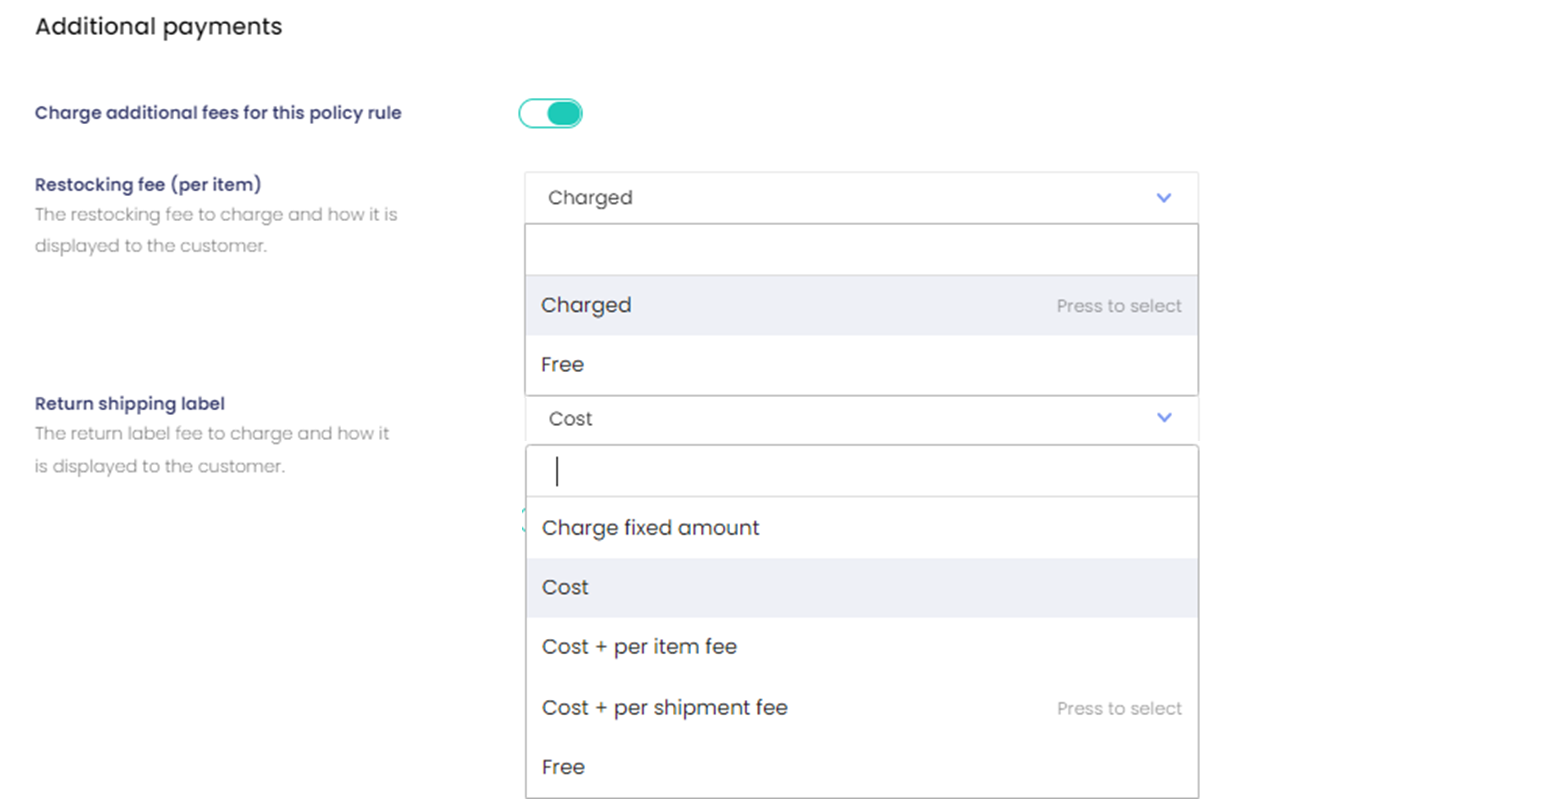
- Additional Payments - Add a fee to be included in the policy rule. This fee can be a restocking fee which will be added to every item for which the customer selected the policy rule as its resolution or a return shipping label fee which will be added per return request. These fees can be reduced from the refunded amount or can be charged to the customers via invoice.
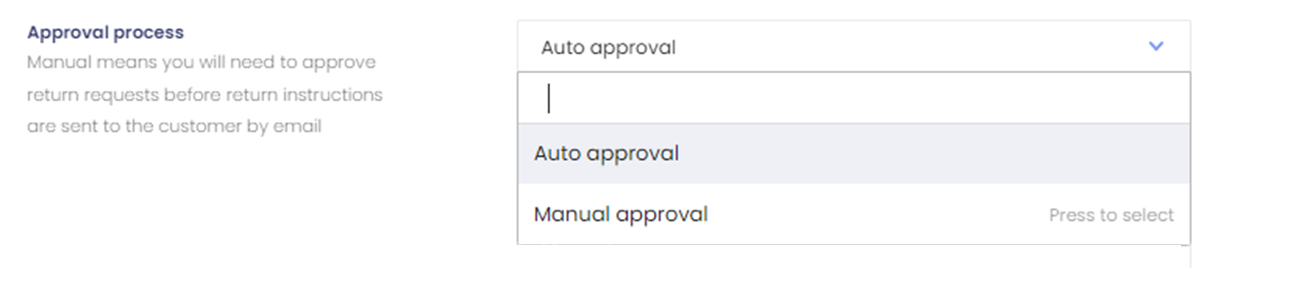
- Approval Process - By default, you will have to manually review and approve every customer return request. You can choose to approve the RMAs automatically to provide a better customer experience and save yourself the effort. You will still need to process the RMA, but at least this one step will be taken care of.
- Return Method - Choose one of the Return Methods you defined in the previous step to be used in this Policy Rule.
5. When you’re finished setting up your Return Policy, click SAVE.

6. You can create another policy rule by clicking the ADD RULE button.
With this step completed, you are at 2/3rds of your account setup and can continue to Step 3.
Step 3: Integrate Into Your Store
You are now at the final step of the onboarding process.
To integrate your ReturnGO account into your store, here are the steps to follow:
1. Check the app proxy definitions and the Return Portal URL it creates.
2. If the URL is good for you and there is no conflict with any previous return applications you might have installed, you can simply turn ON the Enable Integration switch.
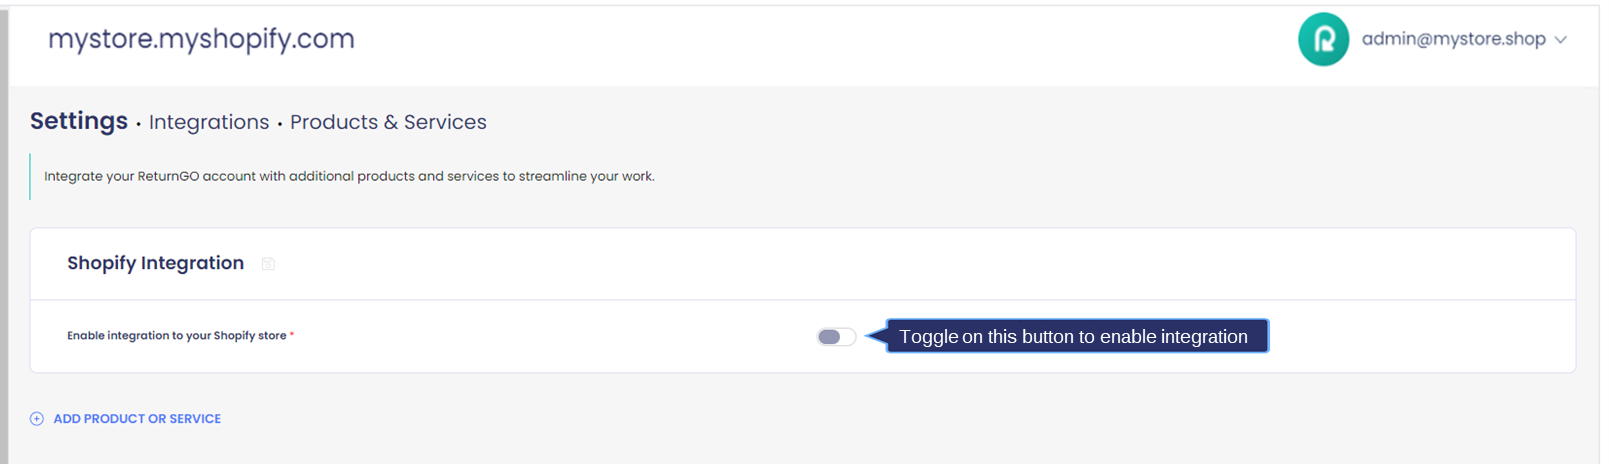
3. If you want to change the app proxy, make sure that it matches the app proxy definitions in your store admin.
4. Your ReturnGO account is now integrated into your store.
Launching your ReturnGO Portal
After completing all the steps, you can finish up your account setup by launching your ReturnGO portal.
To launch your ReturnGO portal on your Shopify store:
1. Copy the link to your return portal.
2. Place your return portal link as a hyperlink in your Shopify store footer, return policy page, on your product pages, or anywhere on your eCommerce site.
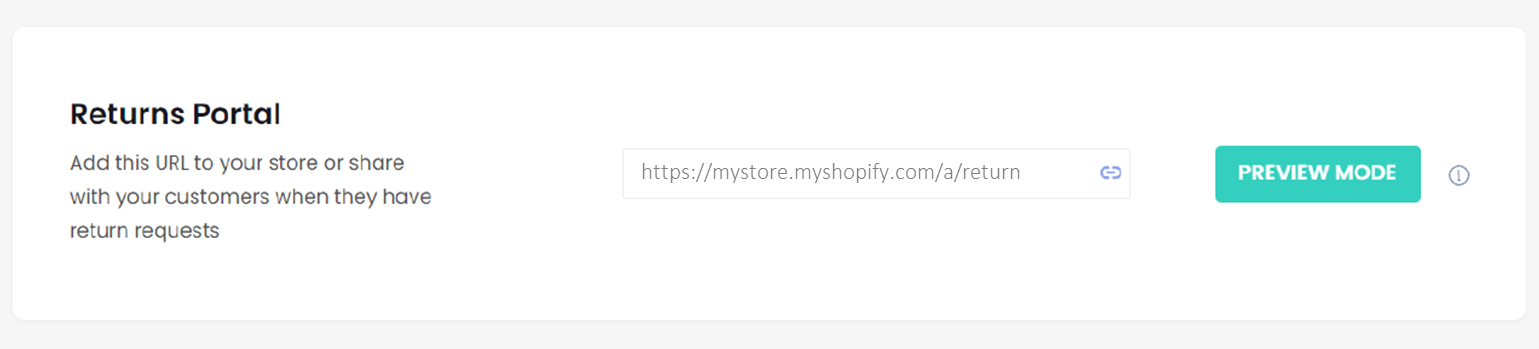
3. You can also test your portal by clicking the PREVIEW MODE button.

With your ReturnGO portal launched, you’re now ready to manage and process returns.